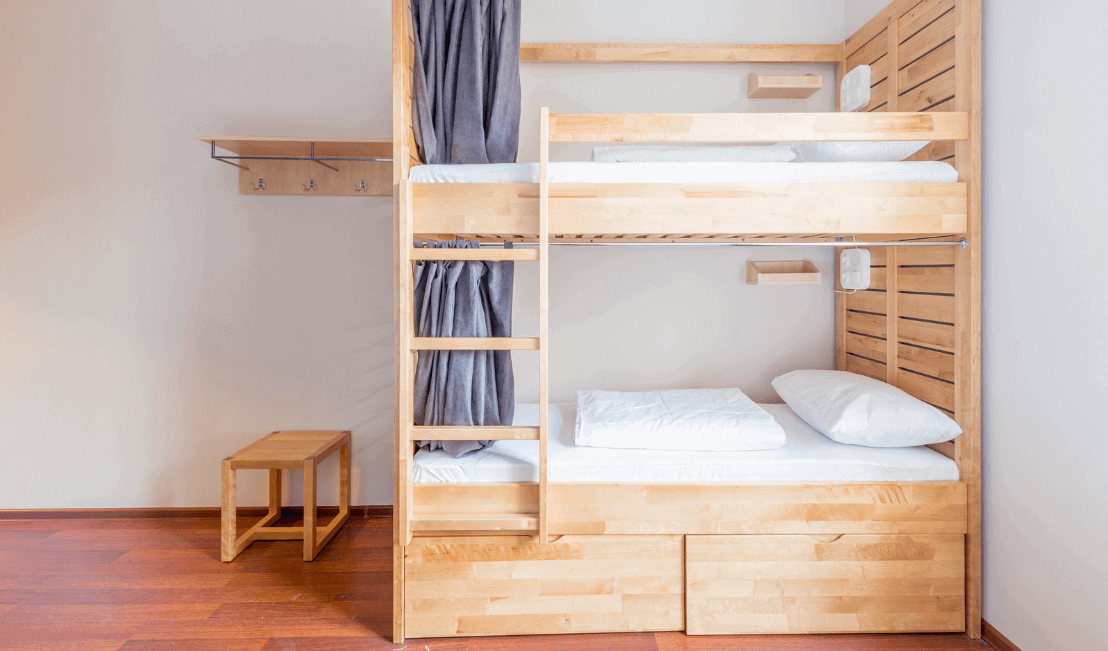
Bunk beds can be a great way to maximize space in your room. The twin over queen bunk beds are the ideal combination of comfort and practicality, offering ample space for children and adults to sleep. This guide will provide you with all the information and skills necessary to build a stylish and durable twin over queen bunkbed.
Planning and Design
It’s important to measure the room dimensions and the height of the ceiling before you begin building. To ensure that the upper bunk has enough space, measure the room’s dimensions and take into consideration the height of the ceiling. Take into account the size of the room, the position of furniture and how the bed will fit.
Designing the Bunk Bed
When designing your bunk bed, you need to consider the dimensions, style and features. Standard twin mattresses measure 39 by 75 inches while queen mattresses are 60 by 80 inches. The design of your structure should be able to accommodate these dimensions, while still ensuring that it is safe and stable.
Safety Considerations
When designing bunk beds, safety is of paramount importance. To prevent accidents, ensure that the top bunk is equipped with guardrails. The ladder must be easily accessible and securely fastened. The bed frame must be strong enough to hold the weight of mattresses and their occupants.
Aesthetic considerations
Select a design to complement the décor of the room. Depending on your preferences, you can choose a rustic look, a modern one, or a traditional one. Choose the wood type and finish which will suit your design.
Materials and Tools
Materials
Your choice of material will affect the durability and look of your bunk beds. Hardwoods such as oak, walnut, maple and other hardwoods are popular choices. Pine is also an affordable option.
- Wood – Select straight, high-quality boards that are free of defects and knots.
- Plywood : For mattress supports and bed panels.
- Bolts and Screws: Make sure they are of the right size and strength.
- Wood Glue : for additional strength.
- Paint and Stain : To finish your bed according to the design you have chosen.
Tools
The construction process will be smoother if you have the right tools.
- Saw Circular saw, table saw, or saw to cut wood.
- Drill : To drill holes and drive screws.
- Sander : For smoothing wood surfaces.
- Measuring Tape : for accurate measurements
- Square : to ensure that corners are 90°.
- Clamps : Used to hold pieces together until the glue is dry.
- Screwdriver : To tighten screws and bolts.
- Paintbrushes and Rollers : Used for applying paint or stain.
Build a Bunk Bed
Cutting the Wood
Start by cutting the wood pieces according to your design. Included in this are the mattress supports, legs, rails and guardrails. Make precise cuts with a saw, then sand down the edges.
Bed Frame
- Legs Cut four legs to the bed frame. The length depends on the height of the top bunk.
- Side Rails Cut four side rails to fit both twin and queen beds.
- End rails: Cut 4 end rails to fit both twin and queen beds.
Guardrails, ladders and other devices
- Guardrails Cut two pieces of long material for the guardrails at the top bunk.
- Ladder : Cut the sides and steps of the ladder.
Assembling Bed Frames
Attach the end and side rails to the bed legs. For a strong connection, use wood glue and screws. Measure the diagonals of the frame and adjust as needed.
Twin Bed Frame
- Attach the side rails at the height of top bunk to the legs.
- Complete the frame by attaching the end rails.
Queen Bed Frame
- Attach the side rails at the height of your bottom bunk.
- Complete the frame by attaching the end rails.
Add the mattress supports
The plywood sheets should be cut to the size of the bed frames for twins and queens. Screw the plywood sheets to the bed frames. Make sure the mattress supports can support the weight of both the mattress and the occupants.
Installing the Guardrails
Attach the guardrails on the top bunk. Make sure they are properly fastened, and that the guardrails are high enough to avoid falls. For added strength, use wood glue and screws.
The Ladder: Building and Attaching it
Attach the steps to each side of the ladder. Make sure the steps are spaced evenly and are securely attached. Attach the ladder at an angle that is comfortable for climbing.
Click More : Best Top 5 Twin Over Twin Bunk Beds
The Bunk Bed is Complete
Sanding
Sand all surfaces of the bed thoroughly to remove any rough edges. This will prepare the wood for the final finish. To achieve a smooth finish, start with coarse grit and work your way up to finer grit.
Paint or Staining
Paint or stain the bunk bed in accordance with your design. Apply multiple coats to achieve an even finish. Allow each coat to completely dry before applying the next. As a final coating, a clear sealant will protect the wood.
Assembly and final touches
Assemble your bunk bed in the bedroom where you will use it. Make sure all screws and bolts have been tightened. To complete the look, add any finishing touches such as decorative items or bedding.
Conclusion
A twin over queen bunk is a rewarding and challenging project. It can enhance the aesthetics and functionality of a space. This comprehensive guide will help you build a stylish, sturdy and safe bunk bed to meet your needs. Take your time and make sure you build each piece of the bunk bed to last. Enjoy building your bed!
